If you love reading like I do you need lots of bookmarks. This is a simple idea you can make with a graphic editing program, some of your own photos, some tag board, and some magnetic strip
In the graphic program you need to create a rectangle about the size of 5 cm. x 10 cm. (2 inches by 4 inches).

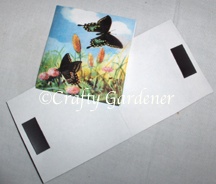
The image you choose needs to be 2.5 cm x 2.5 cm (2 inches x 2 inches). Add the image to one end of the rectangle.
At the other end you can add your text. It can be personalized for the person who might be receiving it as a gift. Before I add the text I rotate the whole thing 180 degrees so the image looks upside down. This way the text can be read when when it is folded over. Text is an optional thing. It can be left blank or you can add another image.
Print on card stock.
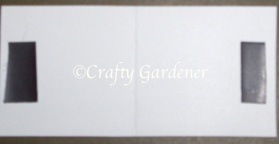
After printing and cutting out the bookmark, turn it over and stick 2 small pieces of magnetic strip to each end, making sure they connect when you fold it over. This is a peel and stick magnetic strip that can be purchased in craft stores.
Then you are ready to use your bookmarker in your favourite book. Fold it over the page and let the magnets stick together and presto your page is marked. If you are part way down a page and need to stop reading, you can use the bookmarker on the side of the page to indicate where you stopped.
For those that don’t use graphic programs, you can always use this simple method using an old greeting card.
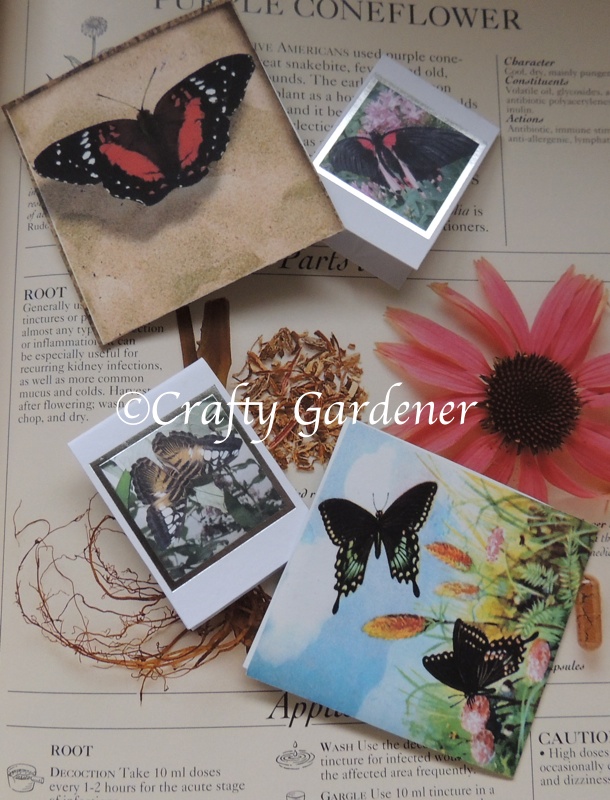
You cut out a template to the size you want. Choose the picture you like, trace around the template and cut out. You might have to change the size depending on the photo on the part of card you want.
On the inside I scored where the fold would go before folding. Using the peel and stick magnets, cut off 2 pieces, one for each end of the inside. To be sure they match up when folded, I stuck on the first piece, peeled off the backing and stuck the second piece on top of the first piece and then folded and pressed.
These make great little gifts to give with a book, or to tuck inside a card for birthdays or special days.

Make your own bookmark
- crochet bookmark
- don’t bug me bookmark
- magnetic bookmark
- recycled playing card bookmarks
- weighted bookmark
The Crafty Side dabbles in: knit & crochet, sewing & plastic canvas, Crafty’s projects, craf-tea ideas, kids crafts, rock crafts, Christmas Ideas