Are you on the look out for a different craft ideas to try? Rainy days are perfect for crafting.
Here is how to transfer a photo to a piece of wood. I also made some coasters by transferring to tile.
You need wax paper or parchment paper, printer, tape, credit card or rigid plastic, and a piece of wood. Wax paper on its own is flimsy so you need to fasten it to regular paper. Parchment paper is thicker but you would have to cut it down to the actual paper size. I chose this method and it worked fine for me.
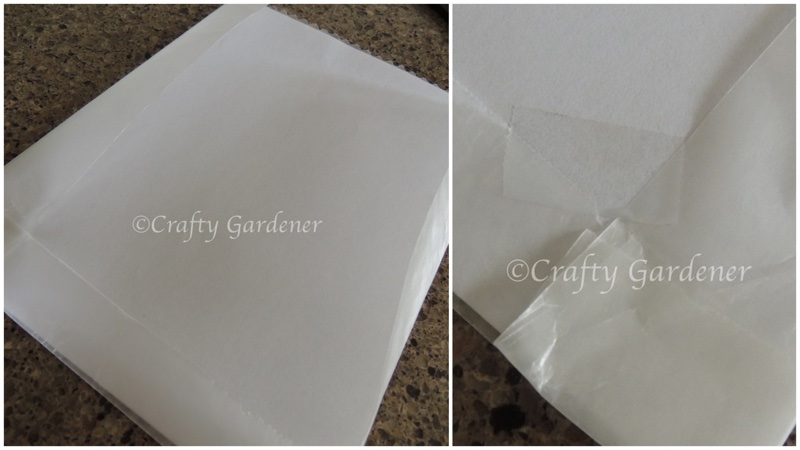
Cut your piece of wax paper the length of your paper and add a bit for turning over at the top. Turn over the extra at the top and side and use a bit of tape to hold into place. This will stop the wax paper from slipping as it goes through your printer.
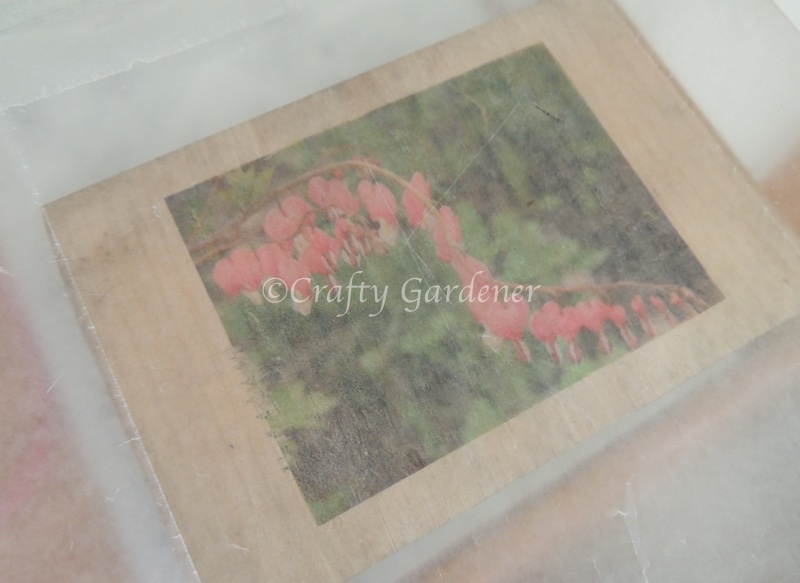
Choose your image and print it out. Carefully remove the tape and lift the wax paper from the regular paper and turn it and position it onto the piece of wood. Be careful not to slide it or smudge it as the ink is wet on the wax paper.
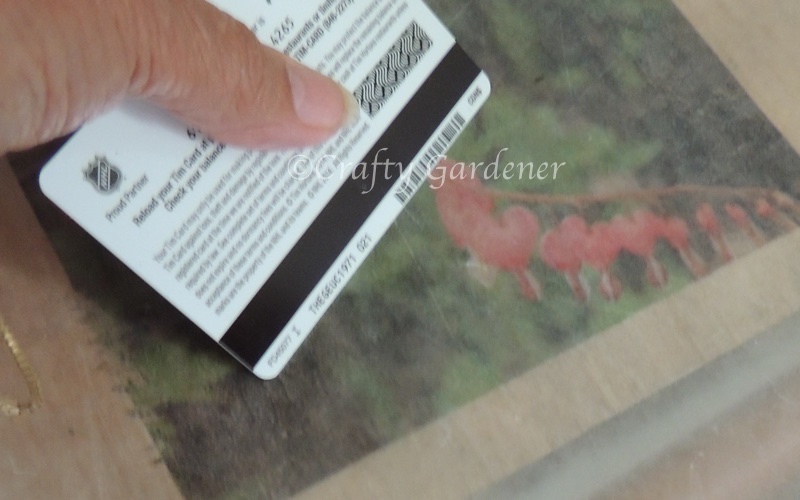
Hold it in place and use the credit card (or similar) and starting at the centre rub outwards all around the image. Press fairly hard as this is what transfers the ink onto the wood.
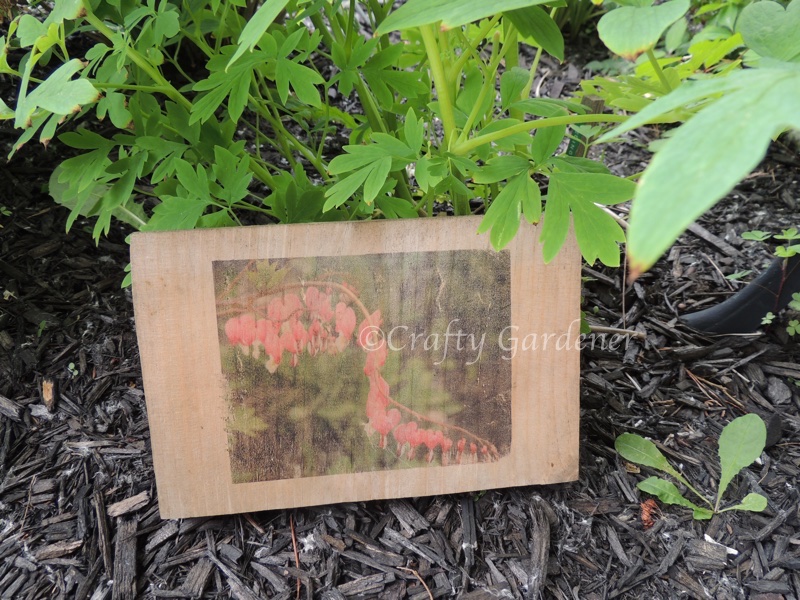
After doing that a few times carefully lift the wax paper off and presto your image has been transferred to the wood. Your image will be reversed from the original, so remember that if you include any text. You can use an editing program to reverse the image so that it will transfer the right way.
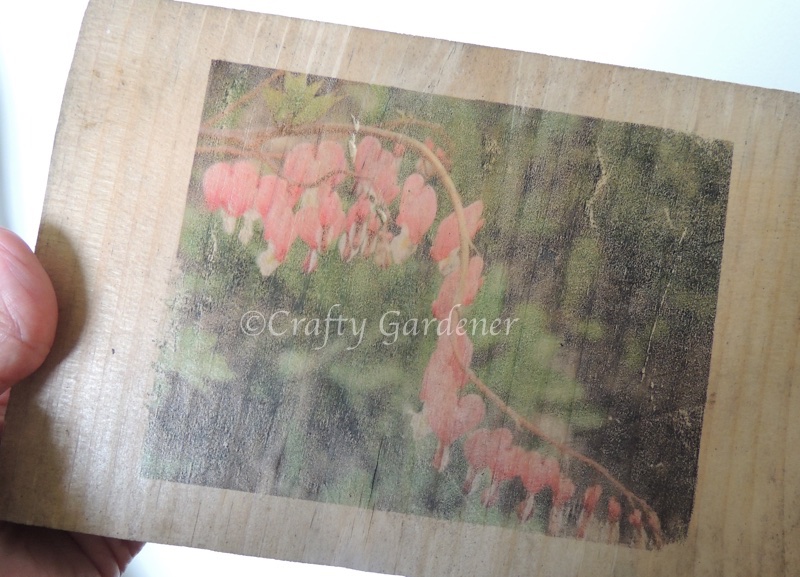
I chose to do the bleeding hearts. The blooms are finishing in the garden but now they are preserved onto the wood. I have also pressed some bleeding heart blooms.
The image isn’t as dark as the photograph so when choosing what to print I would suggest you don’t choose a photo with a lot of light colours in it. I added a spray of fixative over the whole thing. The piece of wood I used was also a bit darker as it was one from the wood pile. If you used a new piece of wood I’m sure the image would be a bit darker.
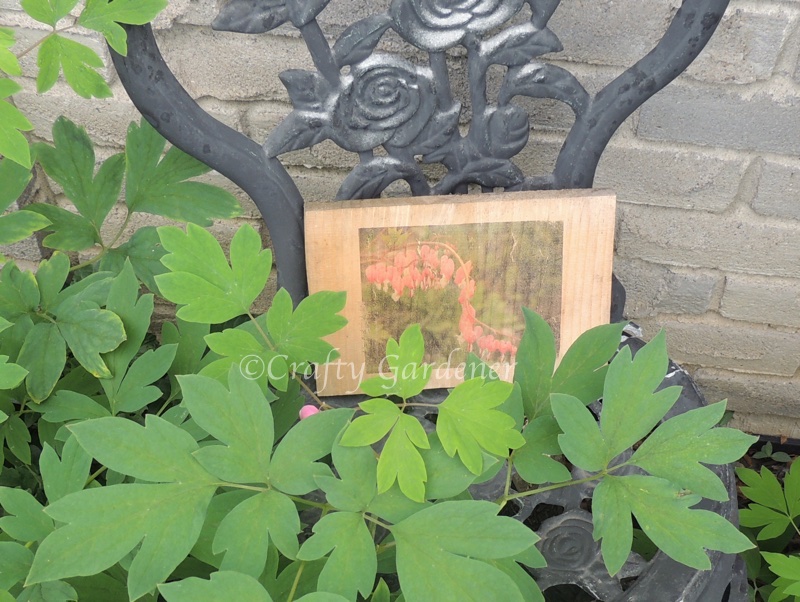
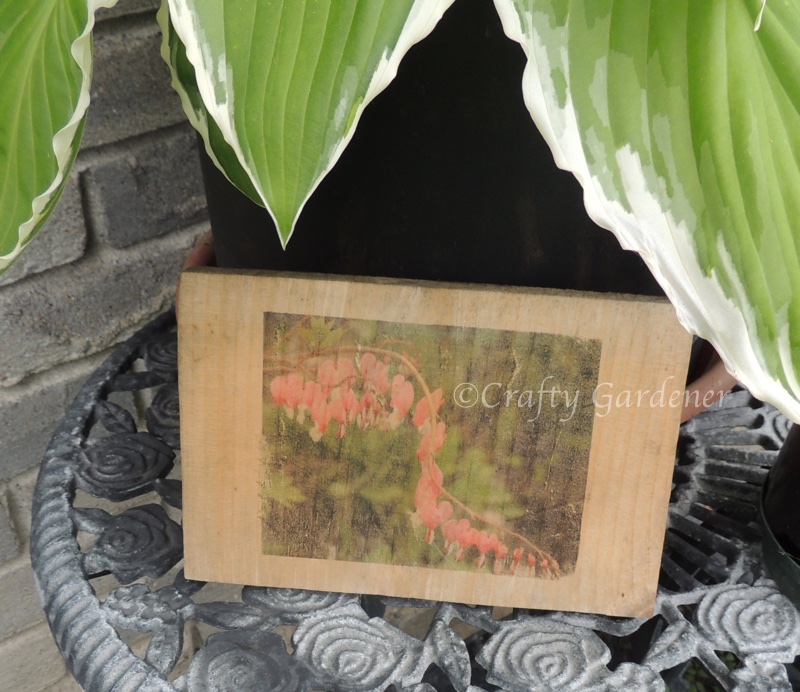
You are only limited by your own imagination … change the wood size and shape for different effects. It can also be done on other mediums such as tiles, artist canvas and material.
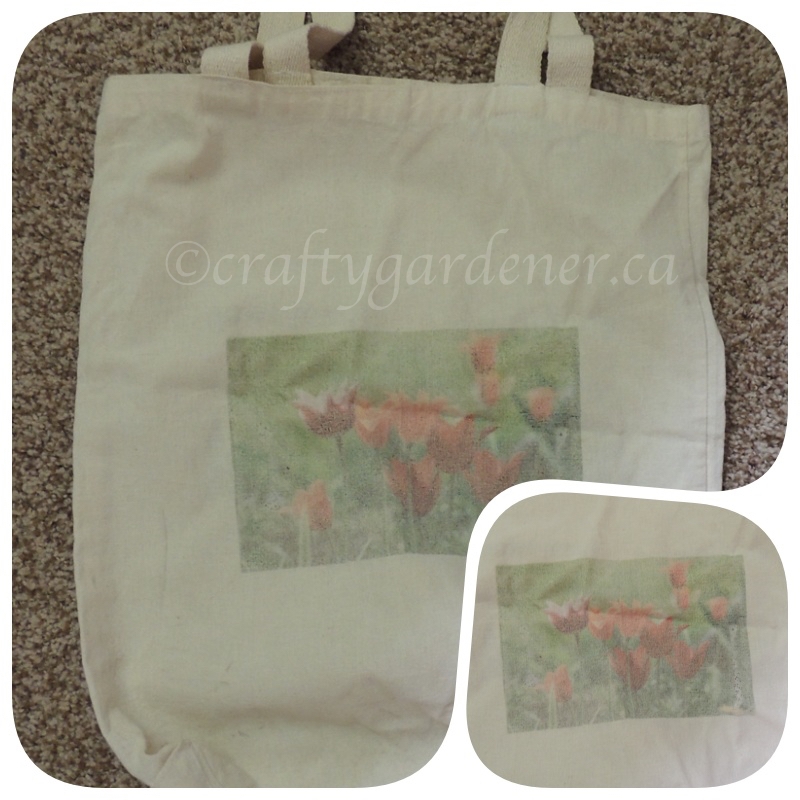
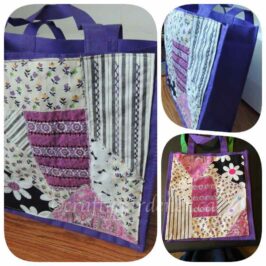
Above is another photo I transferred onto a cloth bag. Once again the image was not as dark as the actual photo. (camera makes it looks quite faded).
The wood and bag transfer were actually done awhile ago. Have a look at how I transferred photos to tiles.

The Crafty Side dabbles in: knit & crochet, sewing & plastic canvas, Crafty’s projects, craf-tea ideas, kids crafts, rock crafts, Christmas Ideas